Planking the Clancy starts with installing the bottom panels. The panels are set on the backbone, with the foreward tip lined up with the centerline of the boat, and the outside edges lined up to be flush with the edges of the bulkheads. The forward end can be clamped to the keelson, and the middle of the panels can be screwed to the keelson using temporary screws with plywood pads. The panels will overhang the transom somewhat.
This is pretty simple, but after being spoiled by modern CAD-designed stitch and glue boats, the lack of refined/developed geometry becomes apparent. The inboard edges of the hull bottoms are straight lines, meaning that, when bent into a three dimensional shape, there will be a gap between the panels at the aft end. This is not apparent on the New Yankee Workshop videos, and "Build a Clancy" is not explicit about it, though seems to imply that this gap is fine since it will be covered up by the keel; I chose to rip a thin, tapered piece of plywood to fill the gap.
Gap between the panels. Looking forward, you can see
a hint of the "inverted V" that the bottom naturally wants to take.
 |
| Gap filled with plywood and epoxy (after bottom panels glued down) |
The other thing that becomes obvious at this point is that due to the deadrise of the aft bulkhead and transom, and dead flat bottoms of the forward bulkhead and temporary bulkhead, the bottom panels want to take a convex, inverted-V shape forward. This is no surprise, since plywood only likes to bend in conic sections. It takes quite a bit of force when the side panels are installed to flatten it out.
After a dry fit, the keelson and edges of the bulkheads/transom are painted with thickened epoxy and the panels are set in place, again held with temporary screws into the keelson and transom. I also heldt the outboard edges of the bottoms against the bulkheads and tacked them in place with some superglue and a shot of accelerant.
Next, to mate up tightly with the side panels, the edges of the bottom are beveled with a hand plane to match the angle of the bulkheads.

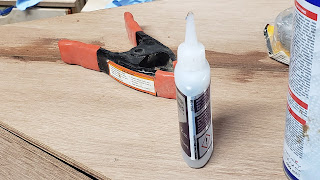 In a typical stitch and glue boat, the sides would be stitched to the bottom and bulkheads using copper of steel wire stitches. The Clancy calls it's method stitch and glue, but it is not the same process. Instead of stitching, the side panels are first screwed into the stem, and then you work aft, pushing the panel against the bottom panel and tacking them together with glue. The Clancy instructions call for using hot glue, but I used dabs of superglue, spritzed with accelerant instead: it is faster, the bond is a little stronger, and you are not left with globbies of hot glue everywhere.

At the foward end, the bottom panels have to be pushed down the meet the sides, while the sides are being pushed in. Care must also be taken to make sure the sides are fully in contact with the bulkhead. The method is fairly rapid, but does not provide for much adjustability and really requires a second set of hands to pull off successfully.
 |
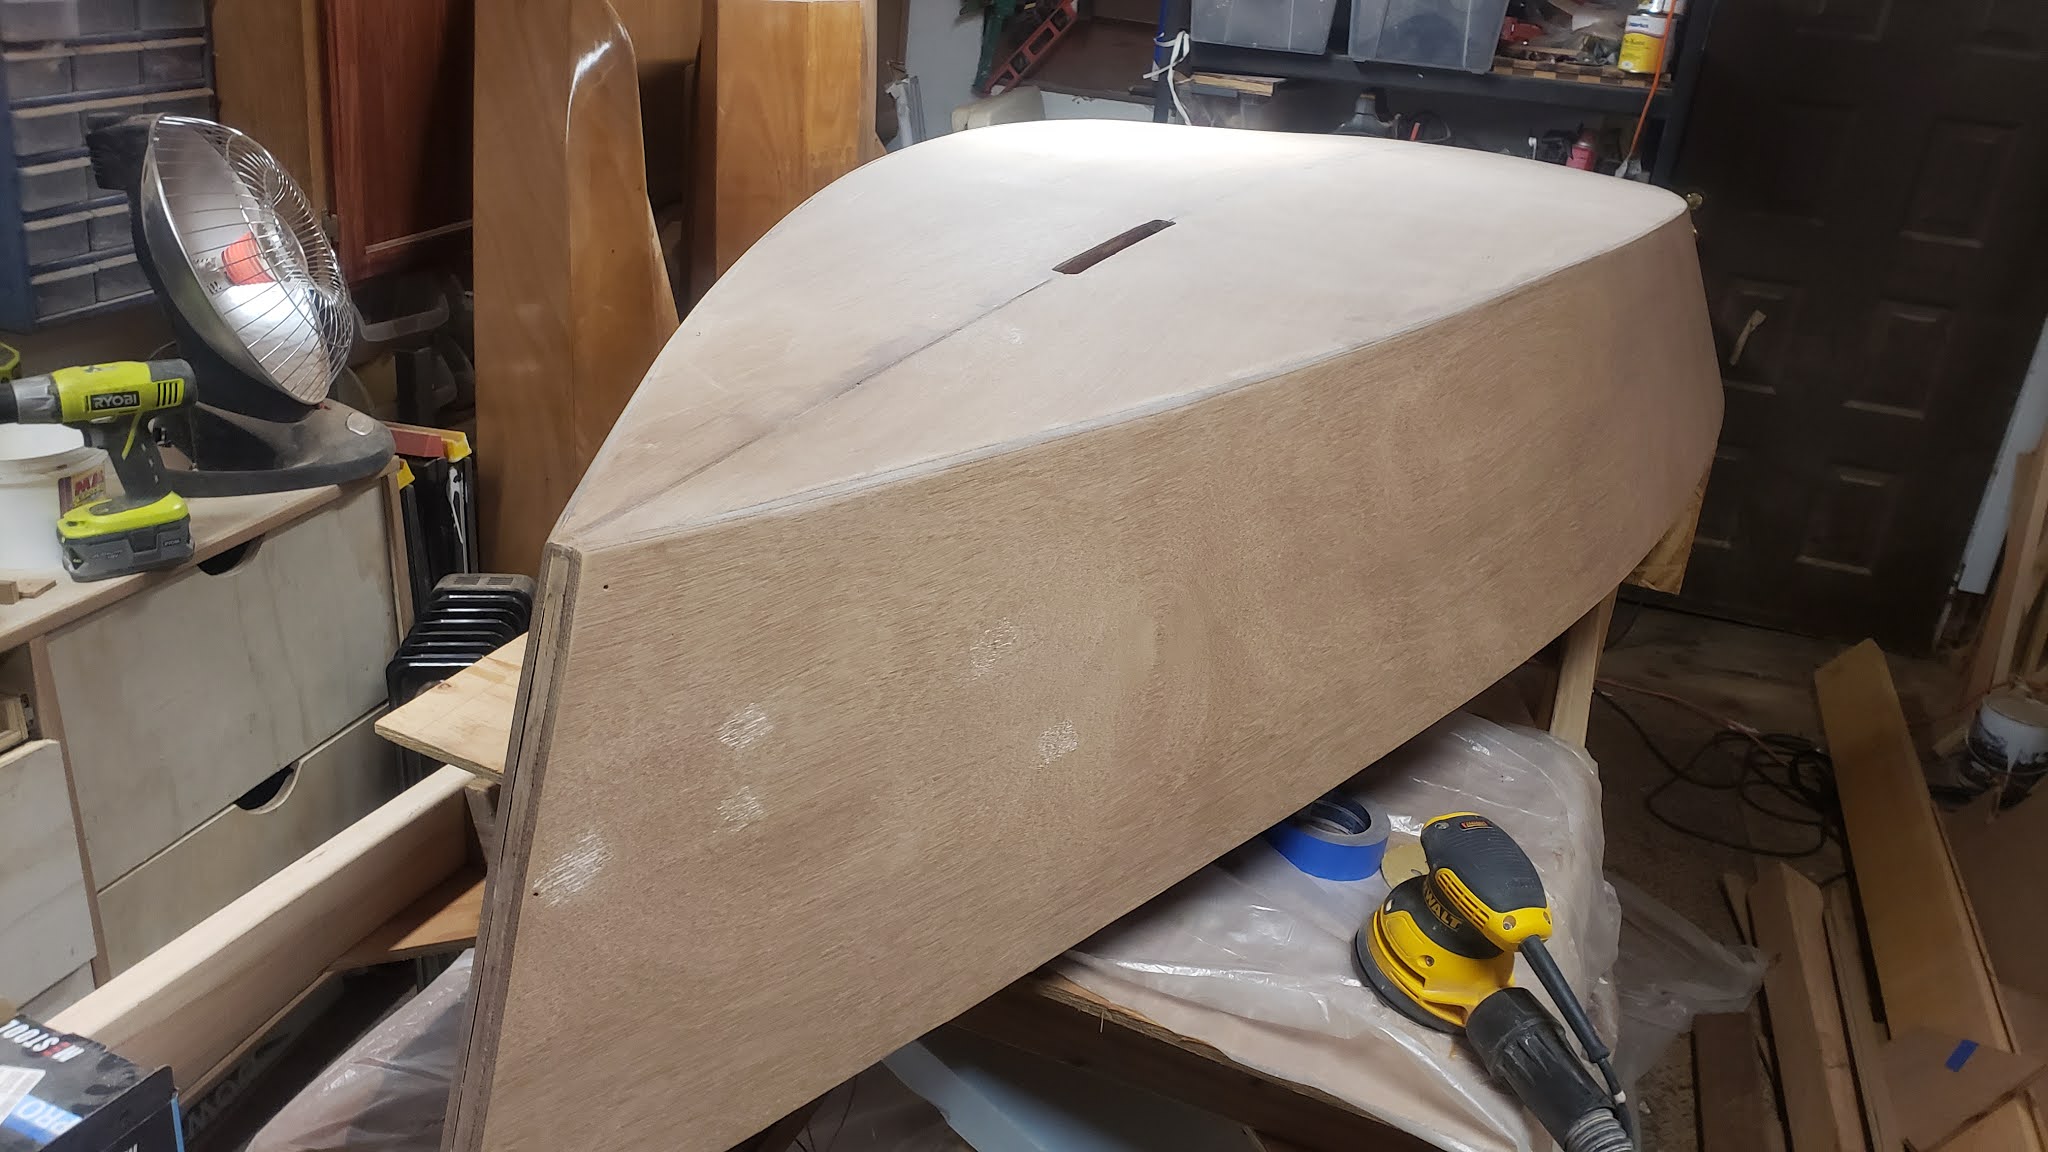
| Test fit of the sides |
With the sides tacked in place, the boat should be strong enough for it's eventual removal from the jig. For some extra insurance, I mixed up some thickened epoxy, and reached under the jig, inside to the boat to place some epoxy mini-fillet "tack welds" along the seams
After all this, the edges of the sides and be cleaned up and rounded over with a hand plane and sander.
The stem also gets cleaned up...
so that the cutwater can be glued on
I installed mine over long, and then trimmed it to length once the glue had dried, and faired it in with a sander.
The daggerboard slot also has to be opened up again. I drilled a starter hole, and then used a flush trim bit in the router to open up the slot, being sure to seal the edges of the slot with epoxy afterwards.
The instructions for Clancy call for reinforcing the exterior seams with fiberglass tape, and sealing the rest of the hull with epoxy. I chose to go the extra mile and sheath the entire hull with fiberglass.
After three coats of epoxy, the hull gets sanded smooth.
 |
There's a boat in the middle, a boat above,
a boat below, a boat to the left, a boat to the right... |
After all of this, I was ready to lay the keel. I first temporarily installed it so that I could open up the daggerboard slot, again using a flush cut router bit.
Similar to the keelson, the forward tip of the keel gets cut to the shape of the bow. It is then pulled off the boat, all the corners are rounded over, and it get sealed with several coats of epoxy...
Before getting glued permanently into place.
After the epoxy has dried, the temporary screw holes get filled with thickened epoxy. I also ran a very small fillet around the whole perimeter of the keel.


 In a typical stitch and glue boat, the sides would be stitched to the bottom and bulkheads using copper of steel wire stitches. The Clancy calls it's method stitch and glue, but it is not the same process. Instead of stitching, the side panels are first screwed into the stem, and then you work aft, pushing the panel against the bottom panel and tacking them together with glue. The Clancy instructions call for using hot glue, but I used dabs of superglue, spritzed with accelerant instead: it is faster, the bond is a little stronger, and you are not left with globbies of hot glue everywhere.


No comments:
Post a Comment